
Well, yes, I have been very, very, insanely quiet recently... but I have a good reason! And that reason is that I've been up to my eyebrows in crafting and networking and posting and selling my jewellery! Yep, that's right! In these times of economic difficulty and unemployment, I decided (with lots of help and good advice from good friends) to start Autumnal Skies, my jewellery persona, to start selling some of my crafting!

It's not been easy, and it's definitely been slow-going, but slowly and surely, I'm getting the word out there and people are looking at my work! I've been very lucky to meet some amazing people along the way too, and I'll be writing a 'Shop Spotlight' post every other week (in collaboration with Munchkin, who will be doing the other weeks!) about some of the fantastic people I've met so far!

You might also wonder, what's with all the photos?

Well, to make up for my lack of craft talk on here, I thought I would take the opportunity to bombard you with some of my work so far...

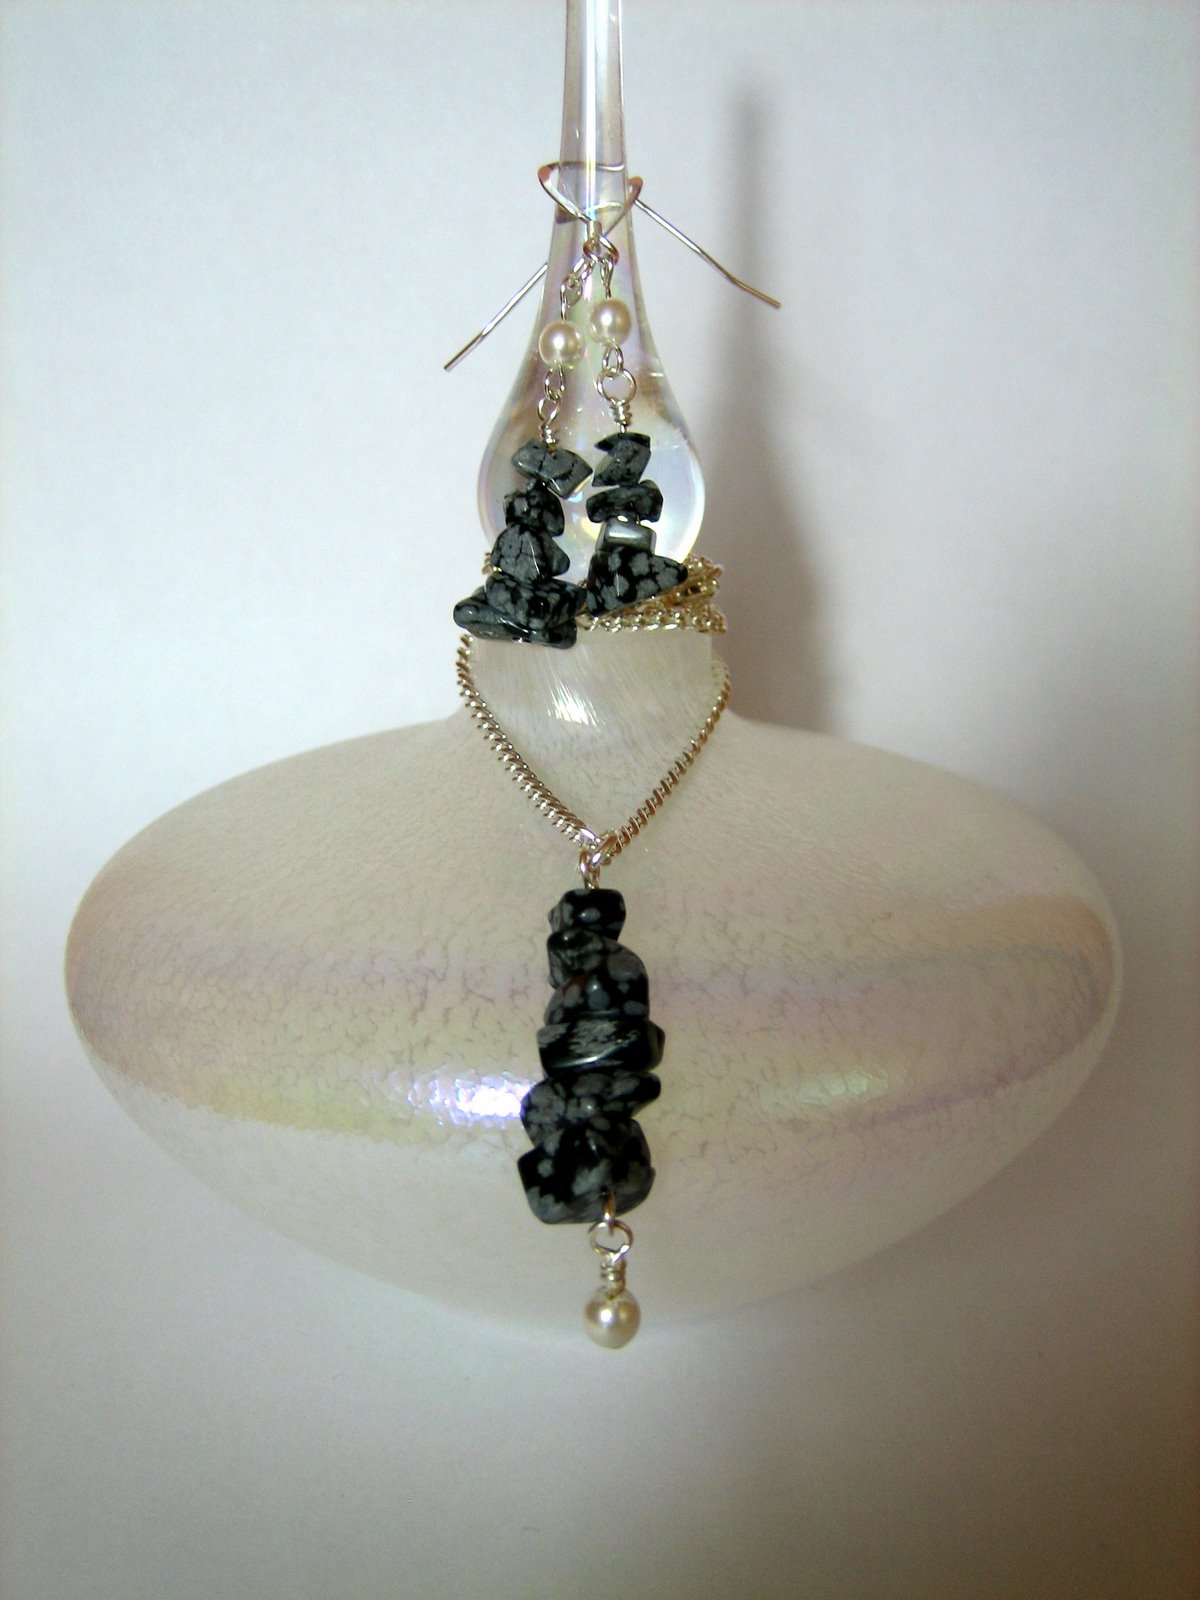
Most of which appears to be earrings...

Which is really bizarre as I don't wear earrings! But I seem to be able to make them more than anything else right now, so who says I can't!

I am trying to branch out more into necklaces and bracelets... slowly but surely, so watch this space!

I'm also hoping to do more work with semi-precious gemstones and sterling silver chain so that those of us that can't stand silver-plate because of the nasty reactions we have to it don't feel left out. But I do make sure that ALL of my earrings are on Sterling Silver earwires! No manky ears here please!

I've also recently gotten more interested in Polymer Clay jewellery and I'm currently experimenting with Millefiori cane techniques, so that's going to be another branch that I'll be getting into soon!
Other than that I've been promoting my work wherever I can...

All of my work is availiable for purchase on Etsy

You can also find me and my work on Facebook

I'm ALSO around on Twitter!
And if I've not scared you all off with all of that, then do feel free to swing by the website for Autumnal Skies here where I post updates every so often about my crafting and other items I want to share with people! Never fear, I'll still be around on here for general craftiness mischiefery though!
Goodness me! So... now you know why I've been so quiet! Is it any wonder...? Happy crafting!

All images are copyright of Autumnal Skies and may not be copied without my (Bones) written permission.


 I started off with a thicker guage wire (for argument's sake, let's say 1mm) and made the body of my bee. First, I made a tight ring around my smooth nosed pliers - both to hold my first beads in place and as a handing winding point for later on. I threaded a yellow and orange bead onto this bit and made a right angled bend in the wire, then another after about another centimetre. On went another bead or two - black this time - followed by two more right angled bends (the bit with the beads should look like a really blocky 's'); I threaded on three more yellow / orange beads and made one last right angled bend (this time going back over the 's'). Using the smooth nosed pliers, I shaped the wire into the back end of the bee - I found that a blocky, cartoon style worked for me - and shaped the wire around the bottom of the bee (under the blocky 's'). The wire was then pulled upwards in a fairly smooth curve to form the bees 'nose'; two more tight rings with the smooth nosed pliers to form the eyes and the body of the bee was complete.
 Next, I took thinner wire (let's say 0.5mm) and tightened the joins on the body of the bee, particularly around the initial tight ring, the horizontal parts of the blocky 's' and the eyes. Then I attached a length of the thinner wire to the upper middle of the body (between the first two rows of beads) and formed two elongated loops for the wings; these were then wound around the upper body to secure them. Finally, I attached earring findings to the top of the wings; I chose to have my bees facing opposite directions, but it's really up to you.
  I think it took me about an hour to finish them both, but I suspect it would have been quicker if I hadn't been gossiping with the fabulous girls at the